Helm setup
To install Longhorn using Helm, you first need to install Helm locally. If you’re using a version prior to version 3.0, you need to install Tiller into your Kubernetes cluster with role-based access control (RBAC).Quick Start with Helm
Run Longhorn on Kubernetes using Helm
Quick Start
- Helm 3.0+
- A container runtime compatible with Kubernetes (Docker v1.13+, containerd v1.3.7+, etc.)
- Kubernetes v1.14+ cluster with 1 or more nodes and Mount Propagation feature enabled. If your Kubernetes cluster was provisioned by Rancher v2.0.7+ or later, MountPropagation feature is enabled by default. Check your Kubernetes environment now. If MountPropagation is disabled, Base Image feature will be disabled.
- Make sure
curl,findmnt,grep,awkandblkidhas been installed in all nodes of the Kubernetes cluster. open-iscsihas been installed on all the nodes of the Kubernetes cluster, andiscsiddaemon is running on all the nodes.- For GKE, recommended Ubuntu as guest OS image since it contains open-iscsi already.
- For SUSE/openSUSE, use
zypper install open-iscsito install. - For Debian/Ubuntu, use
apt-get install open-iscsito install. - For RHEL/CentOS, use
yum install iscsi-initiator-utilsto install. - For EKS with
EKS Kubernetes Worker AMI with AmazonLinux2 image, useyum install iscsi-initiator-utilsto install. You may need to edit cluster security group to allow ssh access.
- A host filesystem supports
file extentsfeature on the nodes to store the data. Currently we support:- ext4
- XFS
Once you have Helm installed, clone the Longhorn repository:
git clone https://github.com/longhorn/longhorn && cd longhorn
Install Longhorn in the longhorn-system namespace. To install Longhorn with Helm 2, use this command:
helm install ./chart --name longhorn --namespace longhorn-system
To install Longhorn with Helm3, use these commands:
helm install longhorn ./chart --namespace longhorn-system --create-namespace
This installs Longorn in the longhorn-system namespace.
A successful CSI-based deployment looks like this:
kubectl -n longhorn-system get pod
NAME                                        READY     STATUS    RESTARTS   AGE
csi-attacher-0                              1/1       Running   0          6h
csi-provisioner-0                           1/1       Running   0          6h
engine-image-ei-57b85e25-8v65d              1/1       Running   0          7d
engine-image-ei-57b85e25-gjjs6              1/1       Running   0          7d
engine-image-ei-57b85e25-t2787              1/1       Running   0          7d
longhorn-csi-plugin-4cpk2                   2/2       Running   0          6h
longhorn-csi-plugin-ll6mq                   2/2       Running   0          6h
longhorn-csi-plugin-smlsh                   2/2       Running   0          6h
longhorn-driver-deployer-7b5bdcccc8-fbncl   1/1       Running   0          6h
longhorn-manager-7x8x8                      1/1       Running   0          6h
longhorn-manager-8kqf4                      1/1       Running   0          6h
longhorn-manager-kln4h                      1/1       Running   0          6h
longhorn-ui-f849dcd85-cgkgg                 1/1       Running   0          5d
Accessing the UI
Once Longhorn has been installed in your Kubernetes cluster, you can access the UI dashboard by getting its external service IP and navigating to it in your browser:
kubectl -n longhorn-system get svc
The output should look something like this:
NAME                TYPE           CLUSTER-IP      EXTERNAL-IP      PORT(S)        AGE
longhorn-backend    ClusterIP      10.20.248.250   <none>           9500/TCP       58m
longhorn-frontend   LoadBalancer   10.20.245.110   100.200.200.123  80:30697/TCP   58m
In the example above, the public IP is 100.200.200.123.
No authentication by default
If you installed Longhorn using the kubectl instructions above, the Longhorn UI does not require authentication.Access the UI
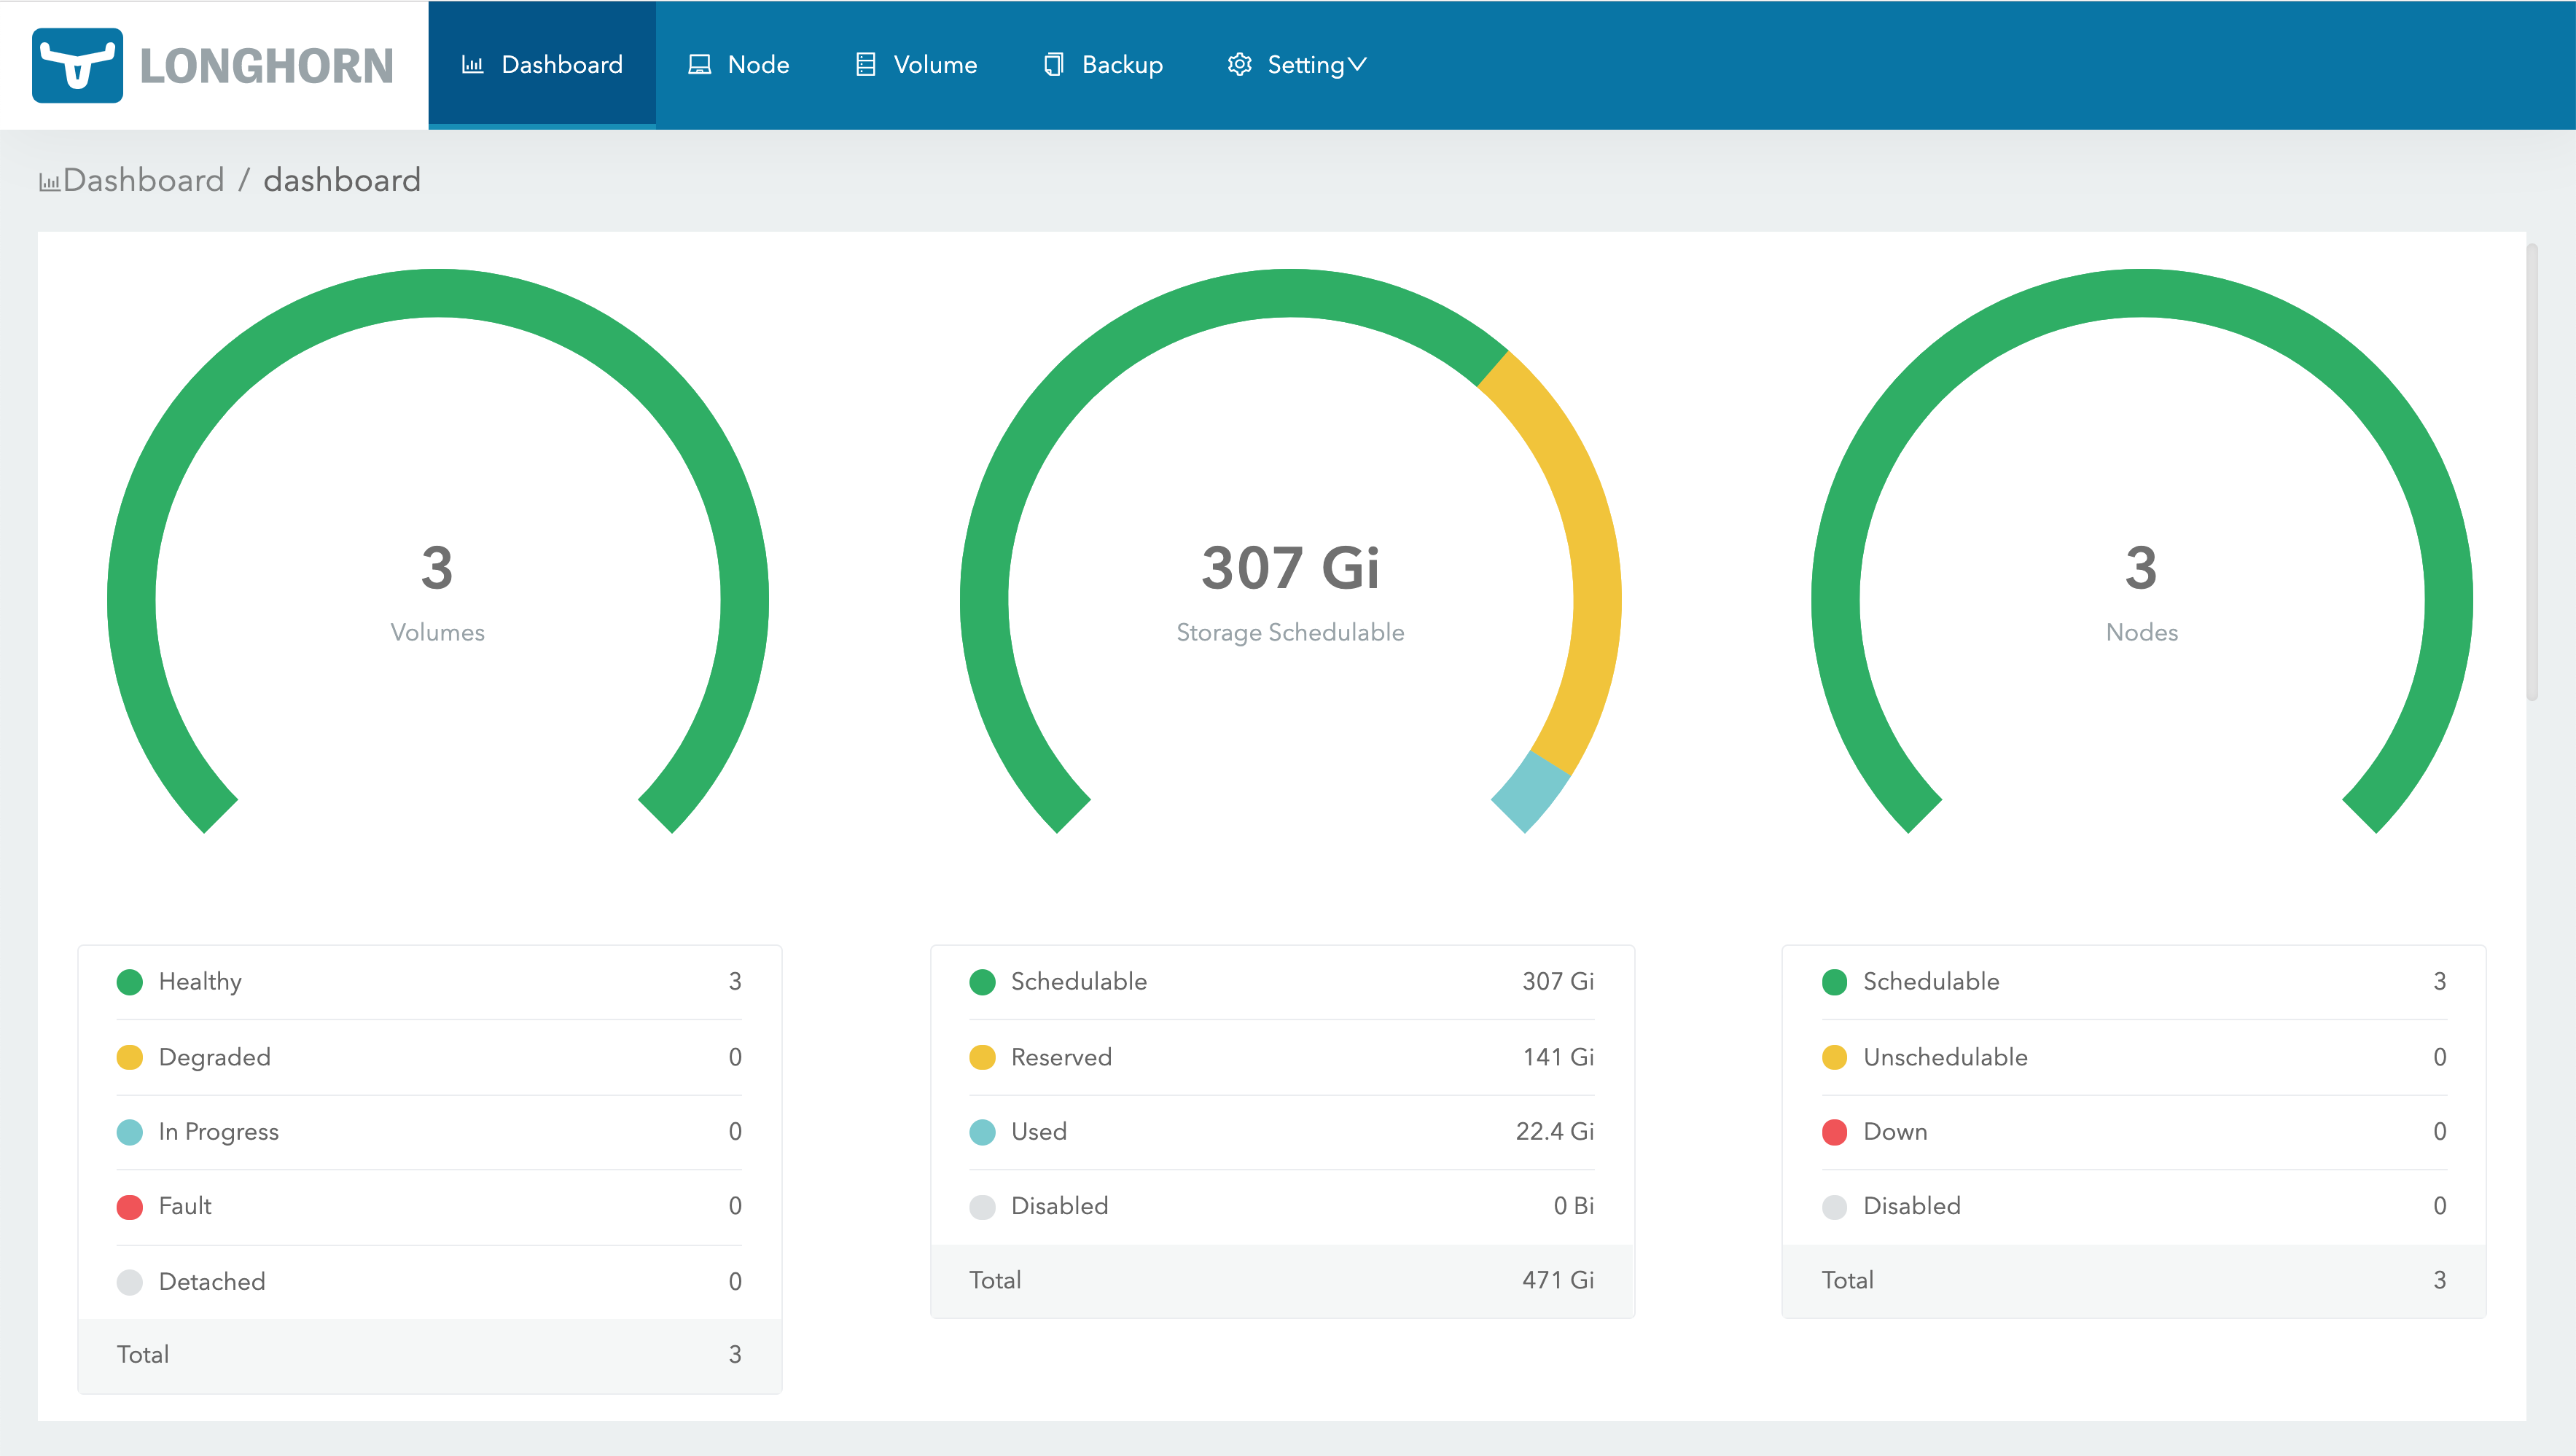
The Longhorn UI looks like this:
© 2019-2026 Longhorn a Series of LF Projects, LLC. Documentation Distributed under CC-BY-4.0.
For website terms of use, trademark policy and other project policies please see lfprojects.org/policies.